Gas stove ignition needle replacement method
Upgrading your appliances can rejuvenate not only your home’s aesthetics but also its functionality. At QG Appliances 4 Less Springdale, we provide an extensive selection of open box, scratch, and dented appliances that offer both quality and value. Serving not just Springdale but also nearby cities like Fayetteville, Rogers, Bentonville, and Lowell.
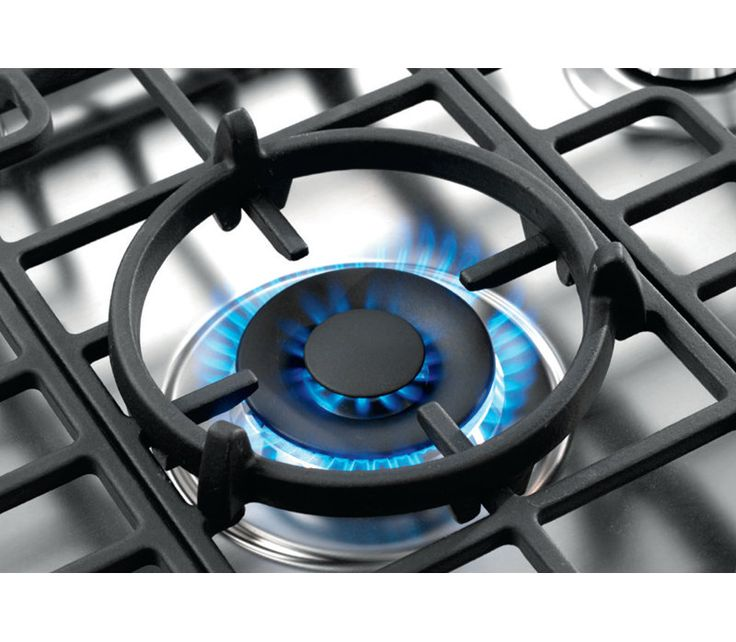
Have you ever been troubled by the difficulty of igniting the gas stove and pressing the knob repeatedly without a "click" sound? As the ignition heart of the gas stove, the state of the ignition needle directly affects the cooking efficiency and gas safety.
1、Why do you need to replace the gas stove igniter?
The ignition needle generates an electric spark through the piezoelectric effect or high-voltage pulse to directly ignite the mixture of gas and air. After long-term use, its discharge capacity will be reduced due to three typical problems:
1.High temperature oxidation leads to the formation of insulating oxide layer on the surface, which hinders the electric spark conduction;
2.Oil covers the needle tip or high-voltage line interface, forming a physical barrier to hinder discharge;
3.Mechanical wear causes deformation of the needle tip, causing the spark to deviate from the optimal ignition position
In addition, ignition failure is the third leading cause of gas stove accidents. Replacing the igniter electrode properly can restore over 95% of its ignition efficiency and help prevent the risk of gas leaks caused by repeated ignition attempts.
2、Ignition needle replacement three core steps
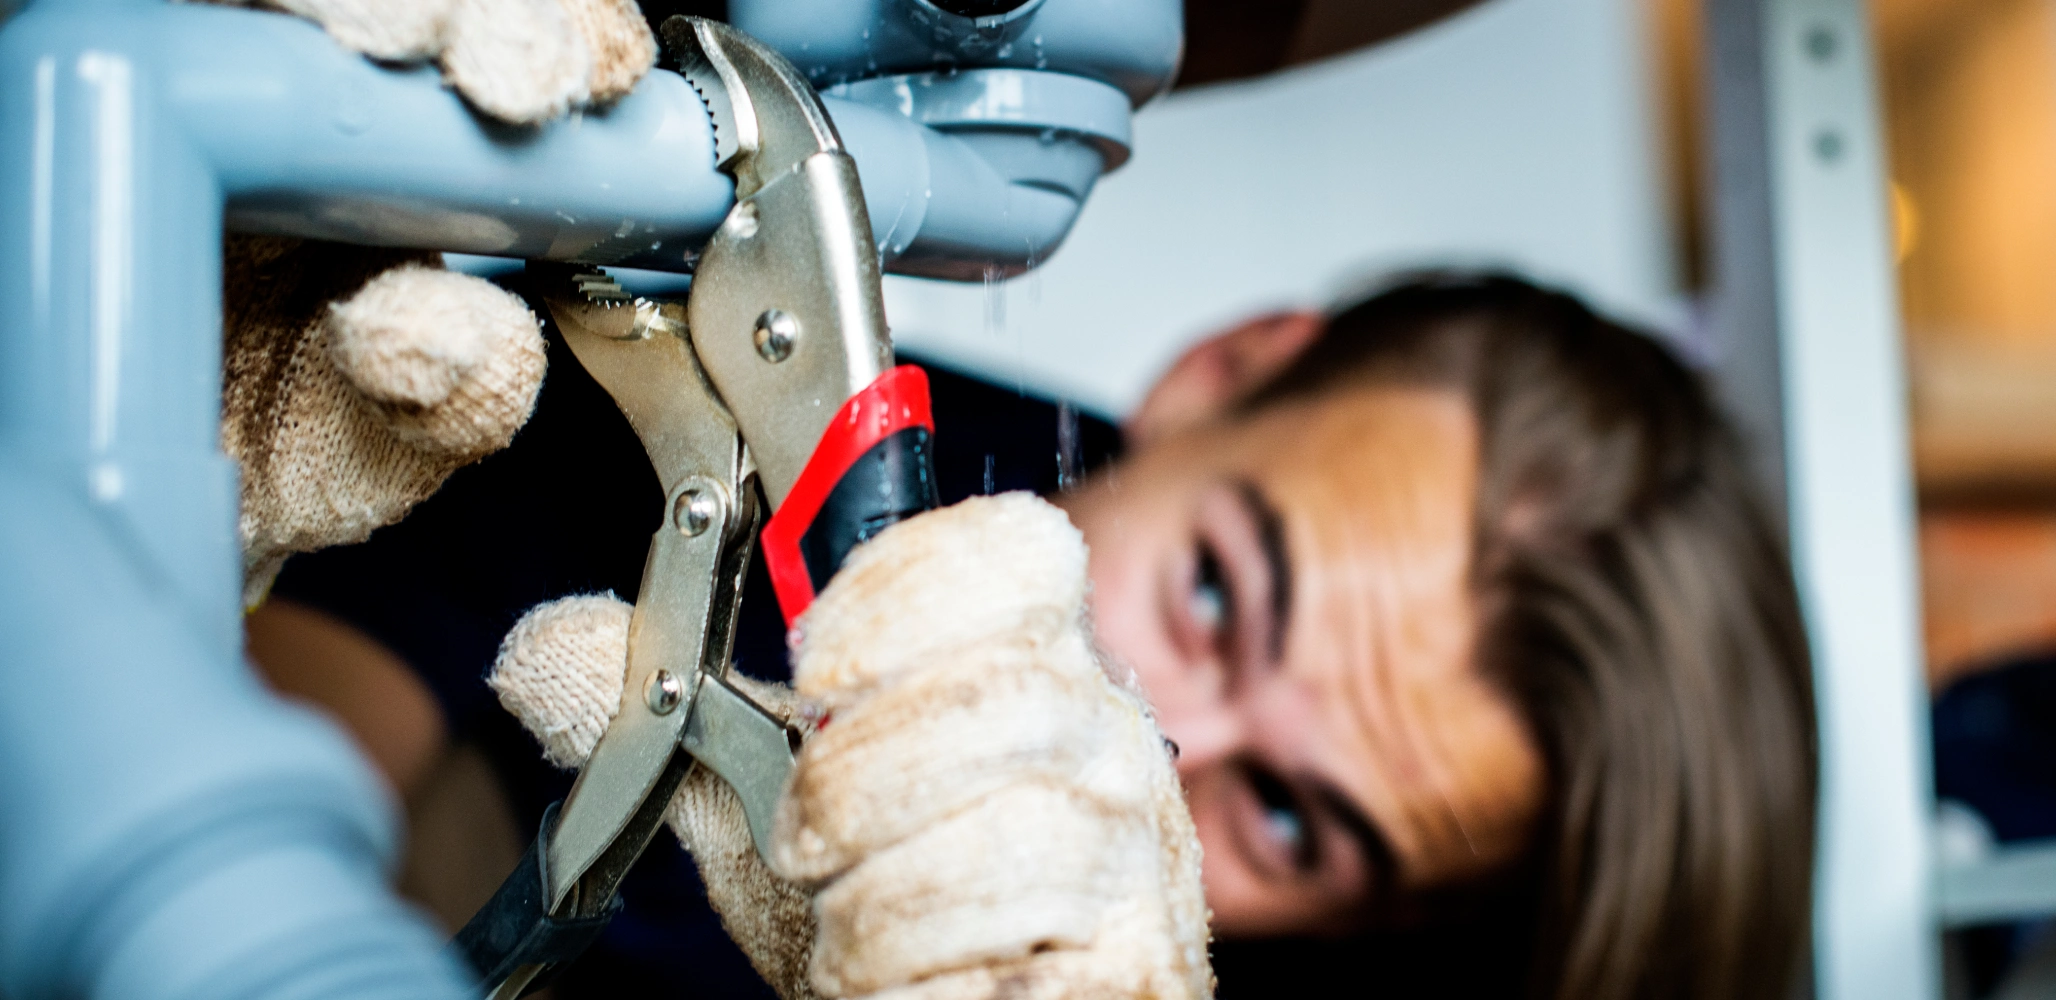
· Close the main gas valve. If your gas stove is a smart stove, unplug the power plug and start operation after the stove is completely cooled. Use an insulated screwdriver that meets UL standards to remove the ignition pin mounting screws. Note that the screw size is typically M4 or M5, and avoid applying excessive force to prevent stripping the threads.
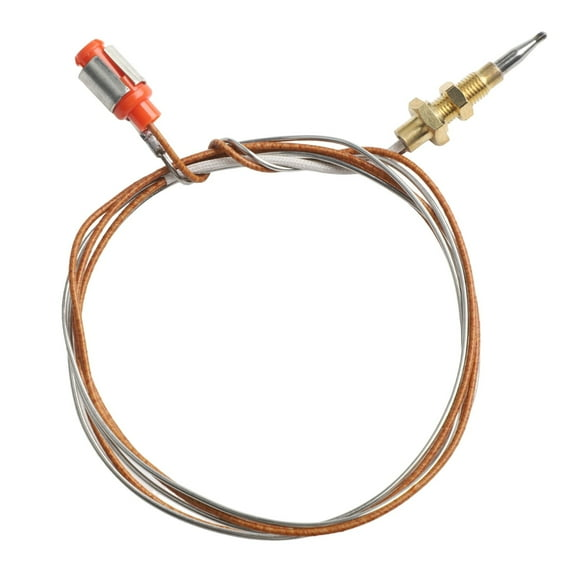
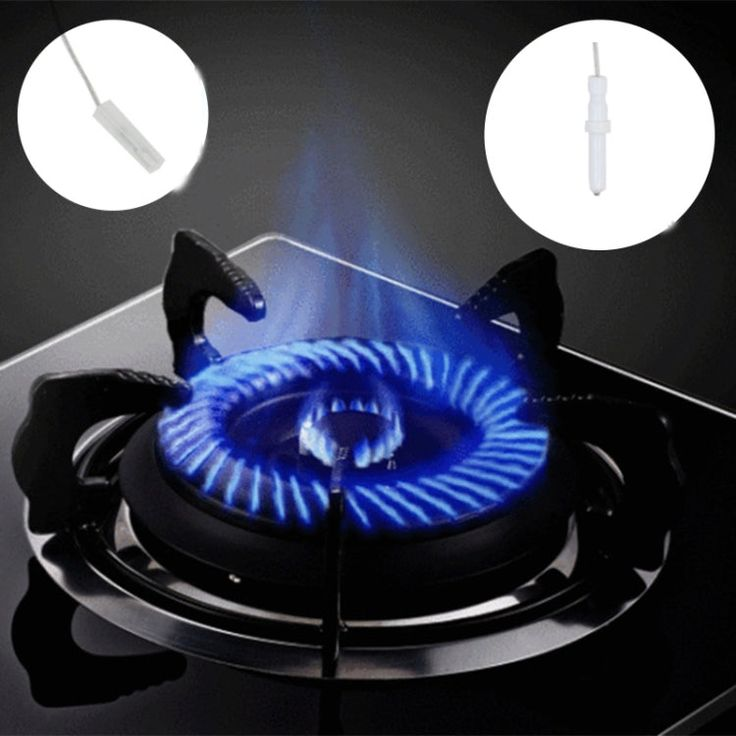
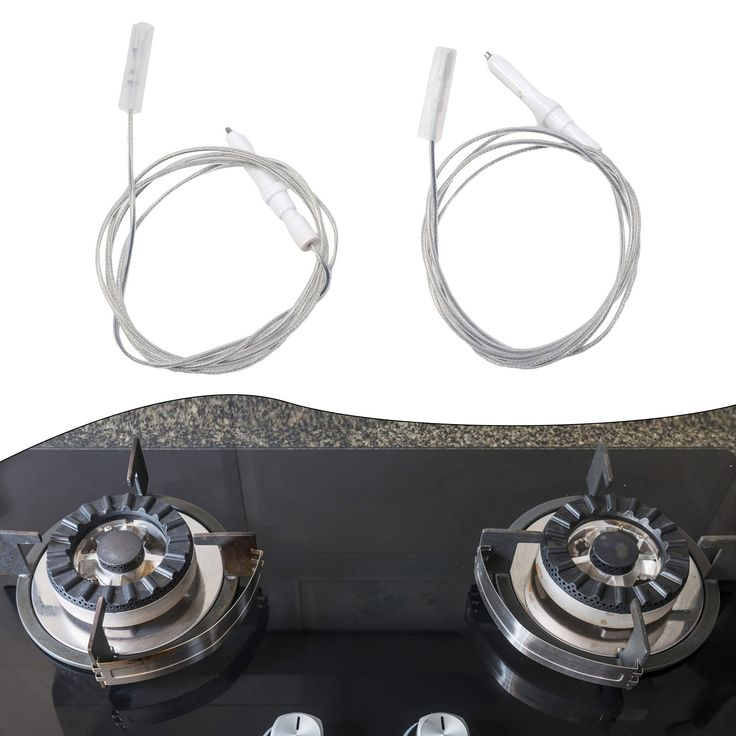
· Removal of the old needle and installation of the new needle: gently pull out the old ignition needle with pointed-nose pliers and observe its connection with the high-voltage line (mostly plug-in or screw fixing). When installing a new ignition needle, it is necessary to ensure that the distance between the needle tip and the fire cover hole is 2-3mm (US standard), and the high-voltage wire is firmly inserted to avoid discharge failure caused by poor contact.
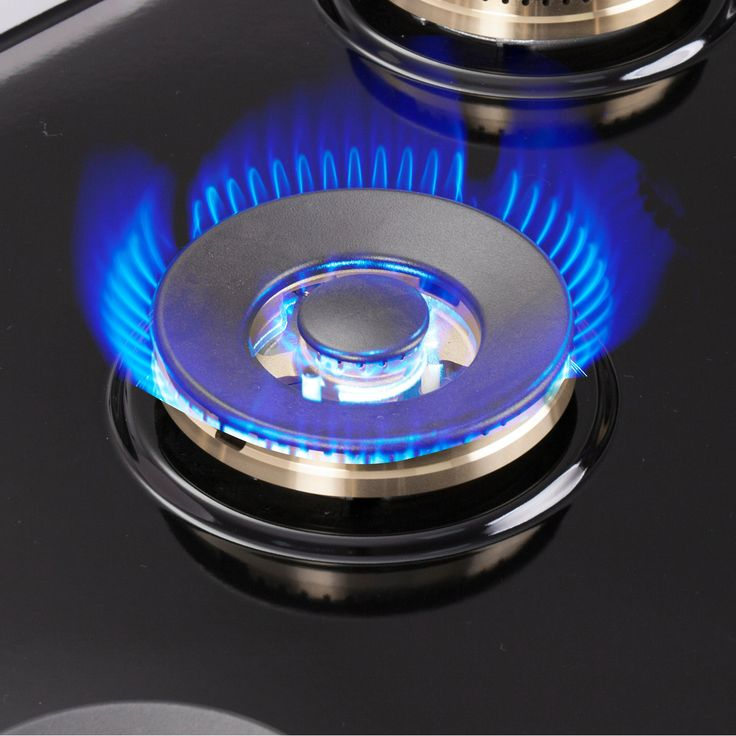
· Function test phase: reconnect the gas and power on to test the ignition function of each gear. Ideally, the ignition needle should produce a continuous blue electric spark within 0.5 seconds, and the flame should burn steadily within 2 seconds. If the ignition fails, check whether the high-voltage line is firmly connected and whether the discharge gap is appropriate.
3、Considerations
· Model matching principle: gas stoves of different brands and models have strict requirements on the voltage (usually 1.5V or 3V), length (usually 50-80mm) and installation hole size of the ignition needle. Check the product manual or contact the manufacturer to confirm the specifications before replacement to avoid secondary damage due to mismatch.
· Anti-static measures: the operation of the need to wear in line with ANSI/ISEA 105 standard insulation gloves, to avoid the human body electrostatic breakdown of the piezoelectric ceramic components inside the ignition needle. Do not operate in a humid environment or when your hands are wet.
· Cleaning and maintenance: Before installing a new ignition needle, clean the oil stain on the hole of the fire cover and the tip of the ignition needle with isopropyl alcohol cotton sheet to ensure that the electric spark can ignite the gas smoothly.
· Regular inspection mechanism: It is recommended to check the state of the ignition needle every 6-12 months. If it is found that the needle tip is severely oxidized (black), the high-voltage line is aging and cracking, or the discharge gap exceeds 4mm, it should be replaced in time.
4、Advanced Tips
For double cooker users, the "double needle collaborative detection method" can be used: after replacing the main ignition needle, the discharge function of the auxiliary ignition needle is tested synchronously to ensure that both fire eyes can ignite normally. If liquefied petroleum gas (LPG) is used, the distance between the ignition needle and the fire cover hole shall be adjusted to 1.5-2.5mm to adapt to the combustion characteristics of different gases. In addition, smart stove users can take advantage of the built-in troubleshooting function to quickly locate ignition system problems through the error code displayed on the control panel.
5、standard replacement process
· Safety confirmation: close the main gas valve and disconnect the power supply to ensure that the operating environment is free of open flames and combustibles.
· Remove the old needle: Use the corresponding screwdriver to remove the ignition needle fixing screw, gently pull out the old ignition needle, and pay attention to avoid breaking the high-voltage line.
· Install the new needle: insert the new ignition needle into the mounting hole, adjust the distance between the needle tip and the fire cover hole to 2-3mm, and fix it firmly with screws.
· Functional verification: Reconnect and energize the gas, test the ignition function of each gear, and observe whether the flame burns stably within 2 seconds. If ignition fails, check that the high-voltage wire connections are secure and that the spark gap is properly set.
The replacement of the ignition needle of the gas stove seems complicated, but in fact it is only necessary to comply with the three standards of "preparation-operation-verification. After mastering these methods, you can not only solve the daily ignition problem, but also become the guardian of family gas safety.